DIY Hand Print Christmas Ornaments

*Spolier alert to Em's family....get excited to be getting these little cuties later this week!*
Having kids means being able to share their cute-ness with family for the holidays. I mean what grandma can resist a homemade craft from their little loves? I know mine can't! My Magical Aunt B gave me the idea of a hand print ornament and I set out to make it happen for the perfect little gift this holiday season.
 |
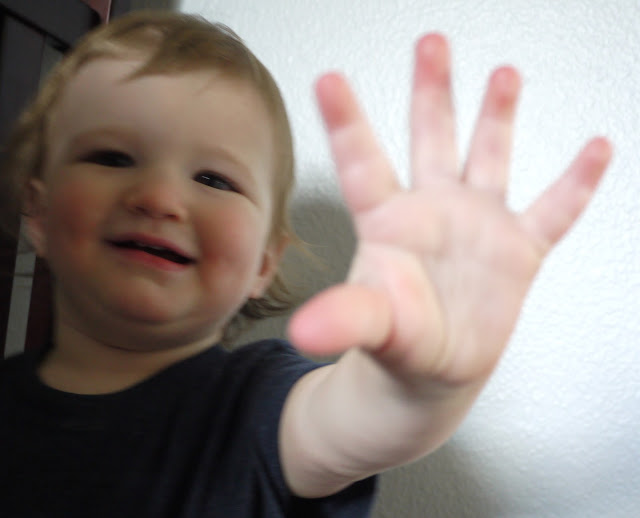
| Angelic little hands! |
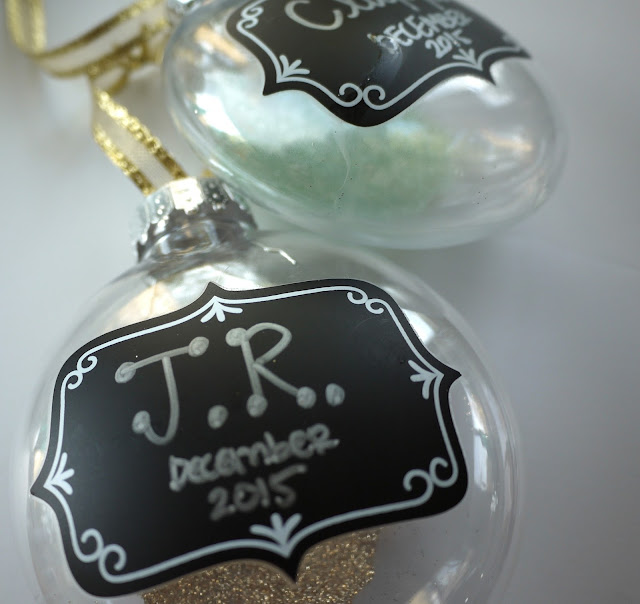
First up, I headed to my local Michael's (coupon in hand) and checked out the clearance section. You know as the holidays get closer the prices get lower! I found some great plastic ornaments with chalk labels on one side and a blank slate for a mini hand print on the other. For the low price of $1.35, I snagged as many as I could carry.
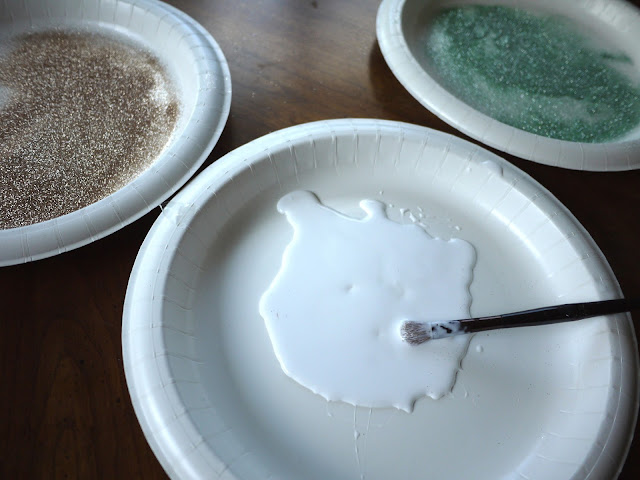
I decided to go with a glitter hand print, you know make it a bit more festive. Since I already had gaggles of glitter and metallic pens to write on the label, all I needed were a few more items to make this project perfect.

While at Michael's, I also picked up some Elmer's glue (for the little hand print) and Mod Podge spray to make sure sure the glitter stayed on the print and not everywhere else.

I laid out my ornaments and started writing the boy's names as well as December 2015.

I got frisky with fonts and mixed each one up a bit.

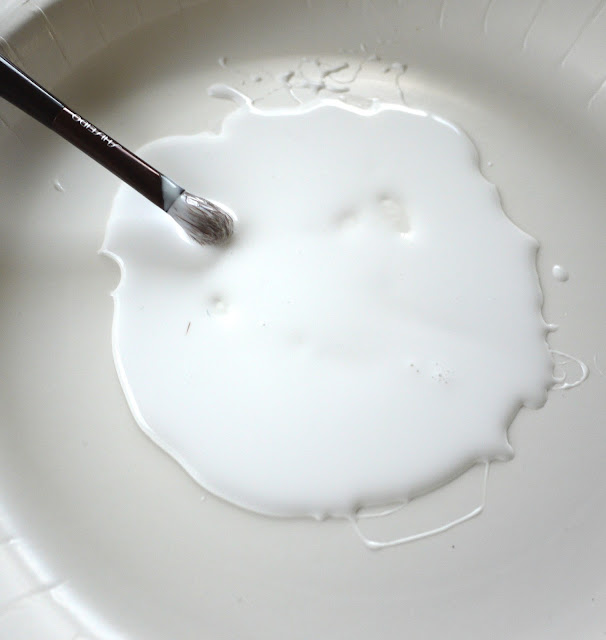
Once each ornament had a permanent name, it was time to get serious with some glue. Remember, glue and toddlers is always a recipe for a disastrous mess. My suggestion...DO NOT TO DO THIS PROJECT ALONE..WITH TWINS...AND GLUE...AND GLITTER.

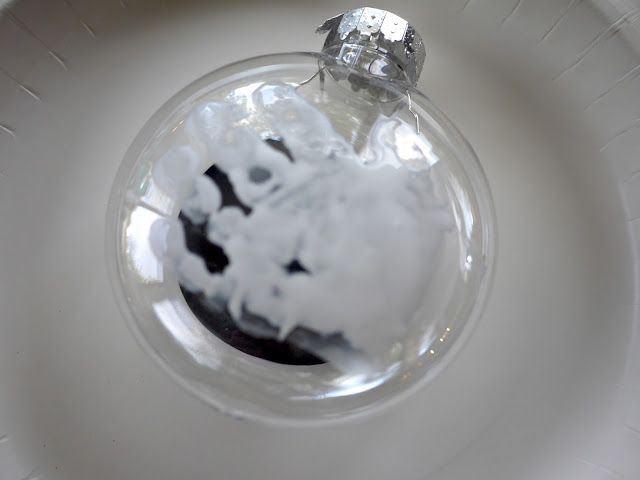
Once covered, I took a teeny hand and pressed it down onto the ornament. I then held that gluey hand so they wouldn't get it all over, grabbed another ornament, painted on some more glue and repeated...and repeated...and repeated.
Once I finished gluing each ornament with J.R.'s hand, I grabbed my gold glitter and got to sprinkling. Then, it was Clarke's turn...and he wasn't quite as cooperative. He was far more interested in the way the glue felt in his hand and wanted to rub it eeeevveerryyywhere. I kept focused, got what I needed and then let him go nuts in the glue...before his bath.
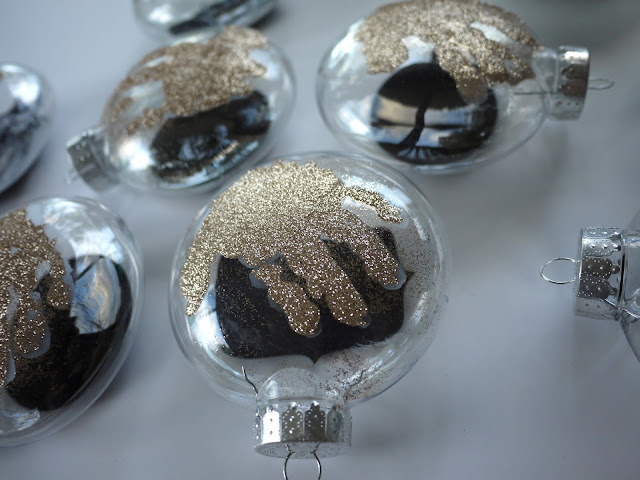 |
| J.R.'s perfect print |
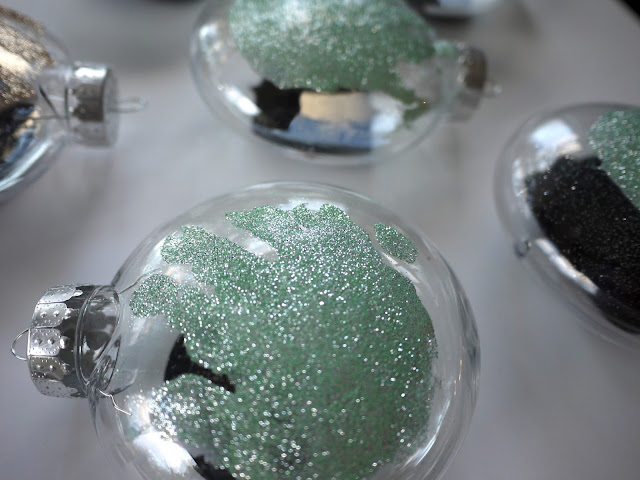 |
| Clarkey's more "artistic" print |
I let the glue/glitter combo sit for about an hour, took the ornaments outside and Mod Podged the glitter side. Per the directions, I waited 15 minutes then did it again.
Once they were done, I carefully wiped around the print to get off any wild glue marks. Once I felt they were clean and tidy, I added some gold ribbon for hanging and #boom, I was done!

This project was cheap, easy and a perfect way to remember those sweet little baby hands...as long as you are prepared for a little mess! But hey, shouldn't crafting and artistic development always be a little messy? I think so!


0 comments:
Post a Comment
We THRIVE on comments, so please share your thoughts with us!