4 Step (Oh So Simple) Personalized Pumpkins
Since I really only decorate twice a year (Fall and Christmas), I like to go all out. I decided this year there would be some new additions to my autumn decor...starting with personalized pumpkins. In only four steps I had the created a simple and sparkly mantle piece to represent my three wonderful boys.
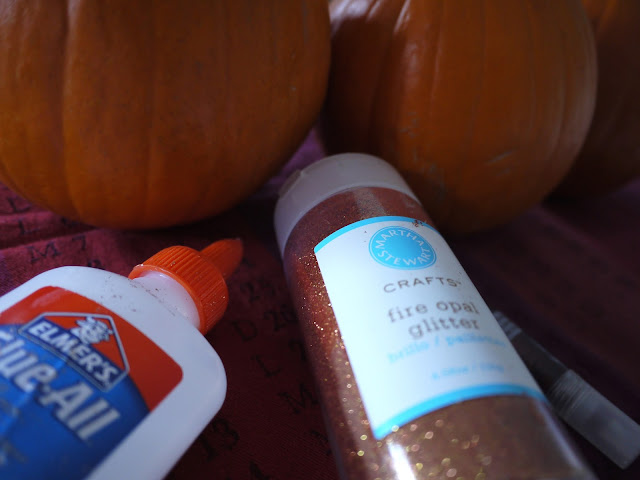
All you need are "pumpkin pie"size pumpkins (you could go larger or smaller if you want, but I went for a good ole' medium cutie), permanent marker, elmer's glue and glitter...yes, glitter.
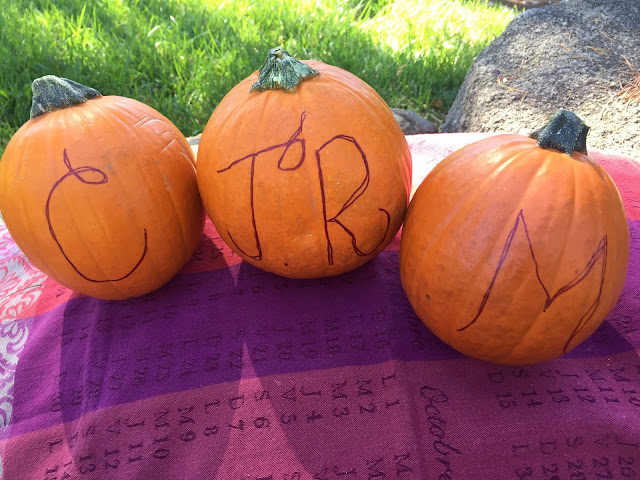
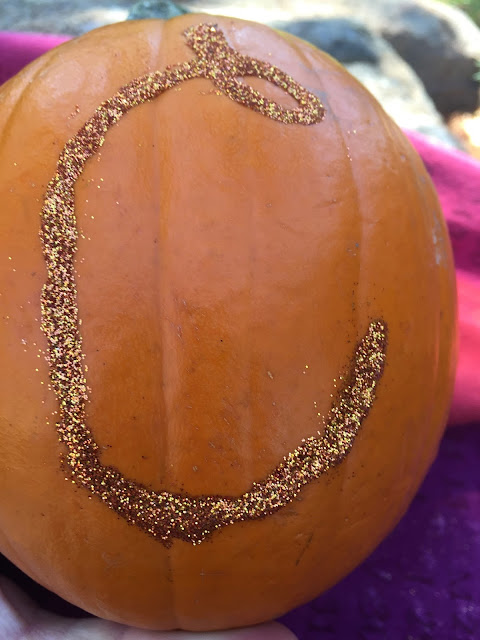
Step 1: Find a nice OUTDOOR area (no one wants a glitter fiasco in their house), take your pumpkins and permanent marker and write the initial of each person you are personalizing for. I of course did a C for Clarke, J.R. for...well, J.R. (he is always a bit tricky as his name is an initial in itself) and M for Mac.
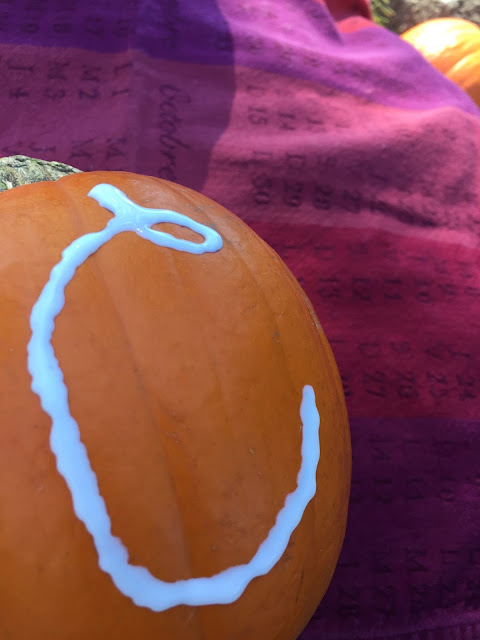
Step 2: Use your elmer's glue to cover your written letter, nice and even. I have found it is best to get the glue going a bit then hold it about an inch or two away so it doesn't glob or get bubbles...so annoying when that happens. Do not go too thick of the glue will run when you move on to the glitter stage.

Step 3: Then the fun part...glitter! I typically do all my glitter work over a box to reduce the strip-club after effects of glitter getting eeeevvveerrywhere. Simply dump the glitter on and shake it all around covering every part of the glue.
Step 4: Shake it over the box, take a deep breath and blow! As the excess glitter disappears all that will be left is your perfectly personalized pumpkin!
How easy was that?!
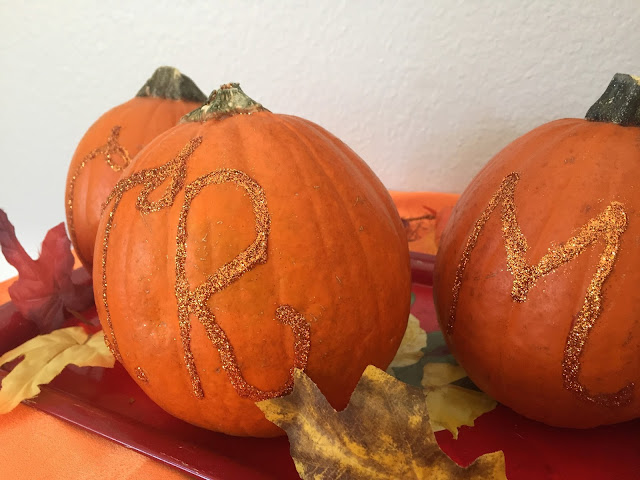
Find a location in your home to showcase this easy as pie project and you have just added another lovely Fall-tastic decoration to your home. #Boom.
Strive to thrive,
Em


0 comments:
Post a Comment
We THRIVE on comments, so please share your thoughts with us!