DIY Candles

(Heavily sigh it out...) Ahhhhhh. Candles. For some reason these beauties have the ability to freshen up any room and make a home feel cozy, not to mention set the tone for relaxation. As much as we all love candles, we don't really know how safe they are. If you are in the habit of splurging on the the best, kuddos to you. If you'd rather take those funds and make your own collection to enjoy and share with friends, then look no further!
My Thriving Mommy has been whipping up candles for the past few years and there is just nothing better. I asked her to teach me (so I could teach all of you) and she was happy to oblige!
What you need to get started, (we purchase from Peak Candle Supplies and love them!):
- A collection of garage sale / flea market / Goodwill cheapest and coolest glasses you can find (wider the better)
- Soy wax (Peak Candle Supplies, you can purchase as little as 10 pounds)
- Wick (sold in a roll at most craft stores, like Michaels)
- Fragrance oil of your choice (Peak Candle Supplies)
- Aluminum/metal pitcher
- Pot
- Glass measuring cup
- Scotch Tape
- Scissors
- Chopsticks or pencils
Before you get candle making, prepare your collected glassware by making sure it is washed and ready to use.
Set up a work station/table by covering it with newspaper, setting out your glassware and organizing your supplies.

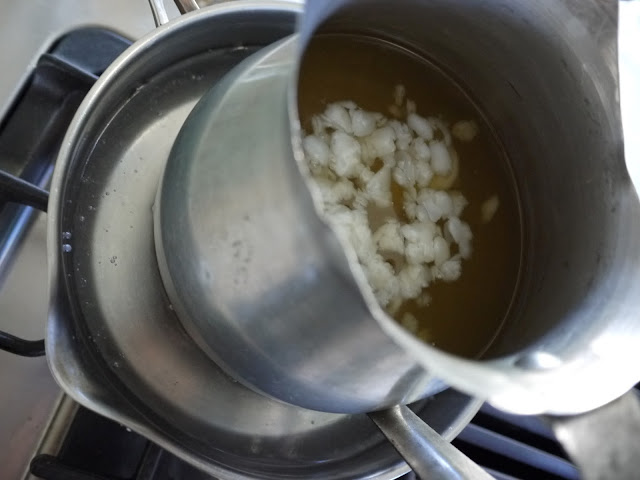
Fill your pot 1/3 full of water and heat it on medium. Grab your aluminum pitcher, fill it 3/4 full of wax and set it into the water while it heats up. Once the water is boiling, turn it on low to keep the water simmering (be sure to watch water so it doesn't boil over). As the wax melts, continue to add more as this process takes awhile.
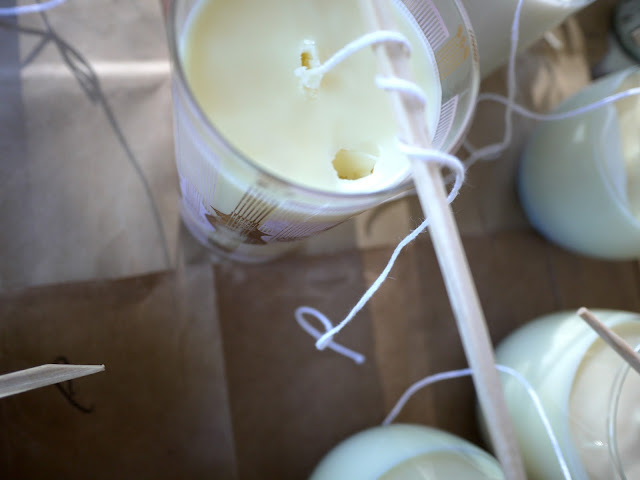
During the melting phase, you can start preparing your glasses. Place wick at the bottom of the glass and tape it down; double check that it is centered. Then, extend it 3-4 inches outside the top of glass and cut.

Very carefully, wrap the wick around your chopstick, taking care to keep wick centered, and balance on top of glass.

You can even do two at a time!

Once the wax is thoroughly melted, add your chosen fragrance oil. Directions will be on the bottle on how much to add, so make sure you take a look and don't over do it. Now, it is time to pour!

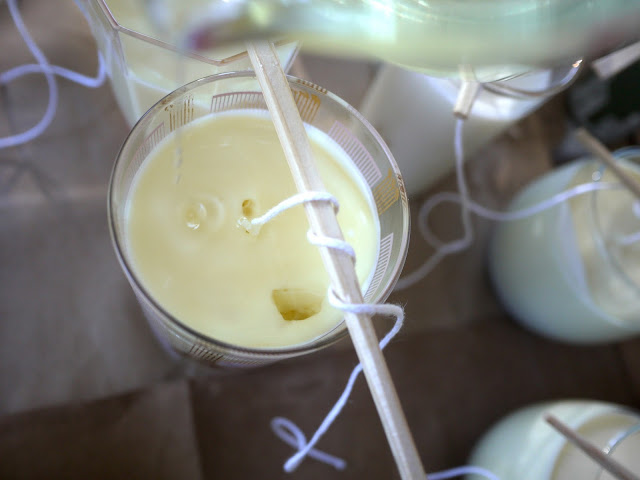
Carefully pour the wax and fill glasses 3/4 full. Triple check your wicks so they continue to stay nice and centered. Save a bit of wax until the end to fix any holes...they can happen.


Now, as I mentioned before, sometimes the candles will develop a hole in the wax. All you need to do is just take some of that extra wax and add a little "topper" of sorts.
Now, just leave those candles for the night so they can fully harden.

The next day, it is time to finish it up. First, cut the wick. Snip just below where the wick is wrapped around the chopstick, so about 1/4 an inch remains above the wax.

Once the wick is cut, take a look at the glass to make sure there were no spills. If you need to clean up here or there, grab a paper towel and wipe down the sides.

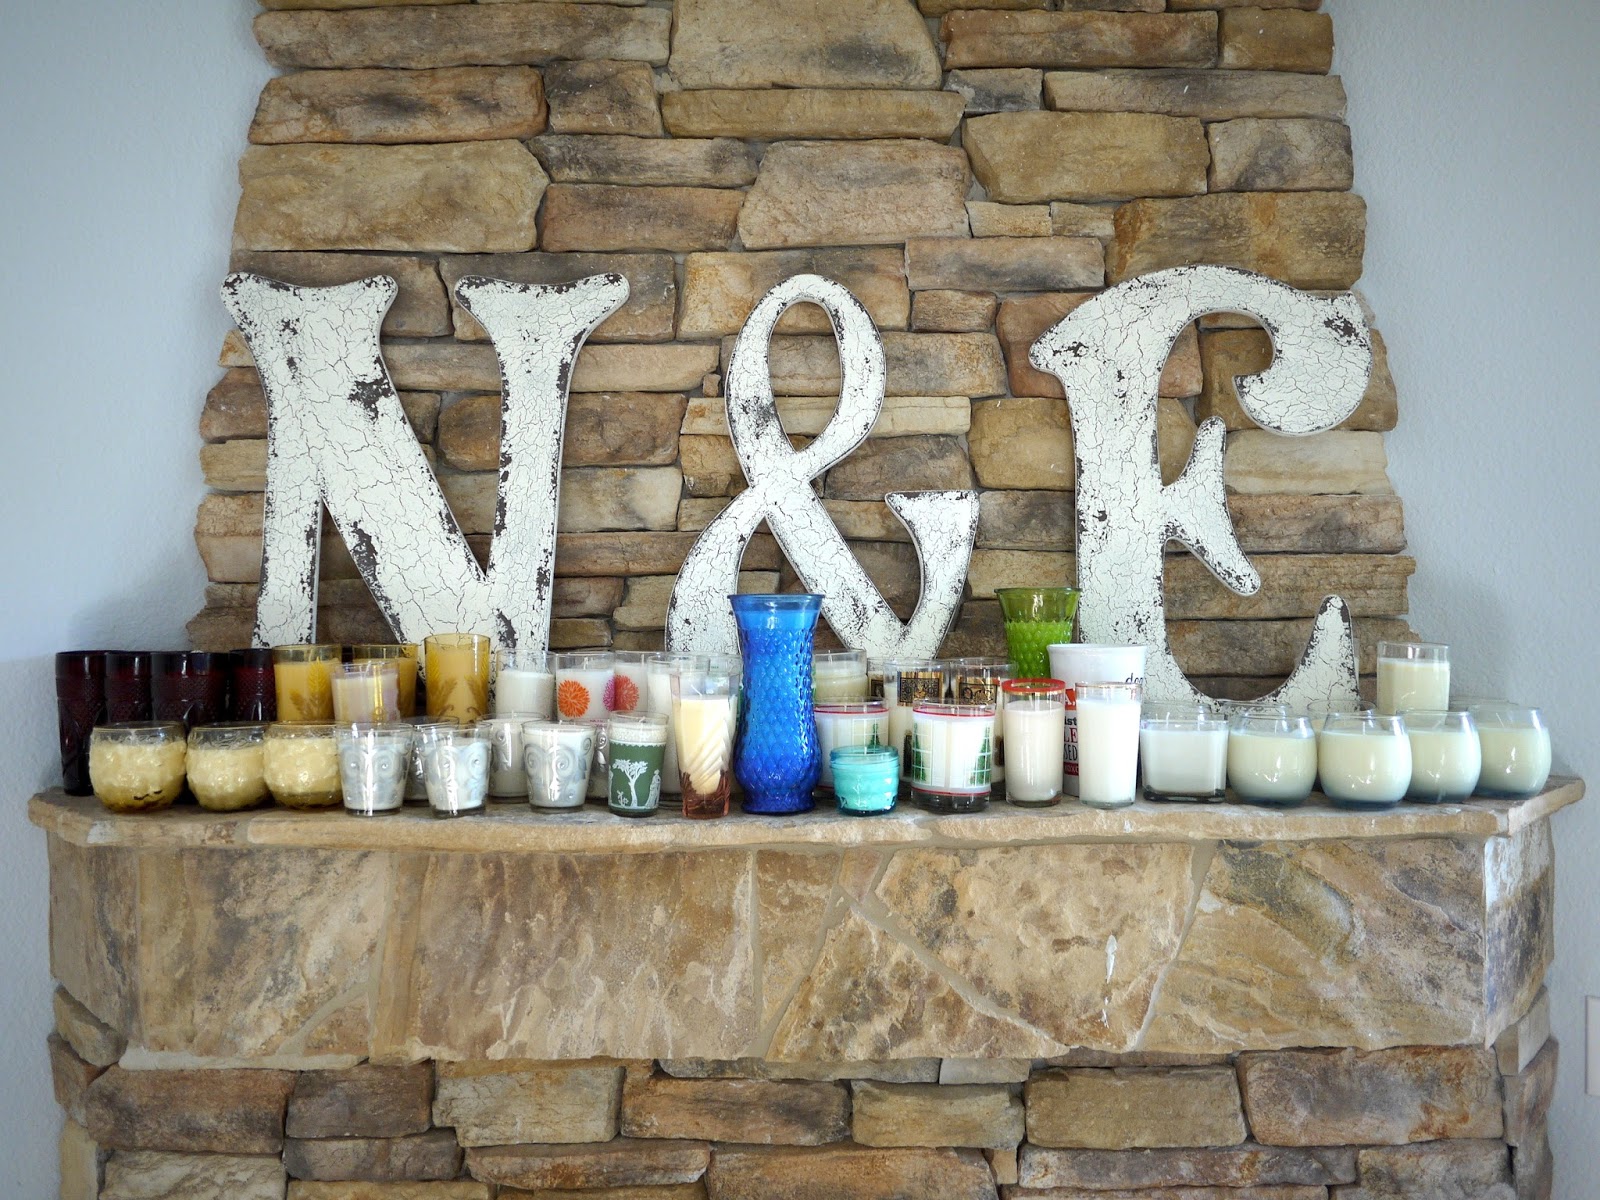
Once you are done you should be left with this....


This process seemed like a lot to me, but after watching my mom do it a couple of times, it is well worth it! They warm up any home, make wonderful gifts and are made with lots of love.


0 comments:
Post a Comment
We THRIVE on comments, so please share your thoughts with us!